Protected: April 2024 Exclusive password access: RBH
Visiting Faculty Training on Marketing, Strategy, Technology and Masterclass on Digital Marketing for students of SP Jain, IMT Dubai-Ghaziabad and IIM Indore
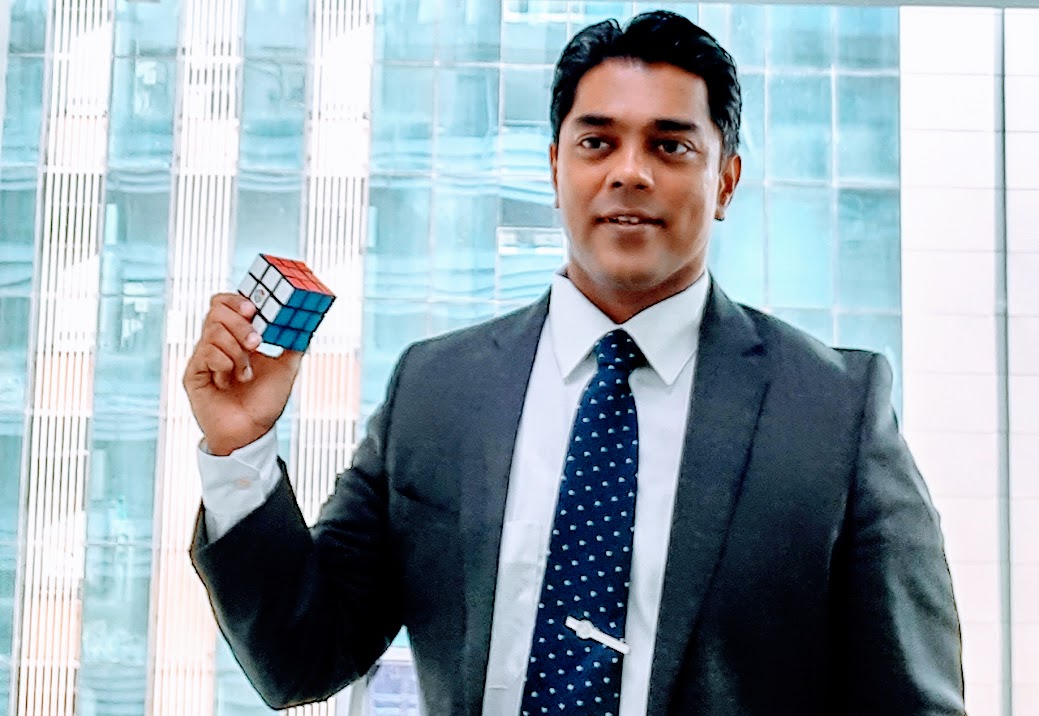
Of the 90,000 participants that our global award winning Founder and CEO, Ananthanarayanan Venkateswaran (Ananth V) has trained, 37% of them have been C-Suite and Senior Management professionals. 10,500 have been Doctors/Surgeons and related Healthcare professionals. But a big part of these learners have been students from some of the top academic management institutions across the globe too.
During the past one month alone, Ananth has trained 500 plus corporate professionals across the globe on Digital Strategy ROI, Conflict Management, Personal Branding, Communication, Public Speaking, Negotiation, Pricing Strategy, Interpersonal Skills, Analytical Thinking, Decision Making, Root-Cause Analysis, Critical Thinking, while he has also delivered sessions as a visiting faculty for students of SP Jain School of Global Management’s Luxury Management course on Marketing and Strategy, Technology Enabled Marketing program for International Business Marketing of IMT Dubai and IMT Ghaziabad and delivered a Masterclass Session for the students of IIM Indore (Indian Institute of Management Indore).
Did you know that Ananth is one of the world’s top and most sought after Fortune 500 ROI focused C-Suite Executive Coaches? His sessions have a perfect blend of hands-on, case study focused interactive curriculums that empowers students, corporate professionals to not only learn their area of expertise but also gain actual practical insights on what’s relevant today in the industry and become an integral part of contributing to the innovation and change of tomorrow.
For custom designed corporate training programs, C-suite executive coaching sessions, visiting faculty programs, reach us here: Contact us – Techdivine Creative Services Digital Marketing & Social Media agency
Connect with our multiple-time global award winning CEO, Ananthanarayanan V here www.ananthv.com


